Kit-specific labels and instructions supplied with your order always take priority.
Application guide

A better touch-up starts with careful preparation.

Use this page as the general repair sequence for your StuccoKit. Before opening either jar, compare the order reference, colour, texture, and contents with the labels supplied in your box.
Written steps Mobile friendly Safety reminders
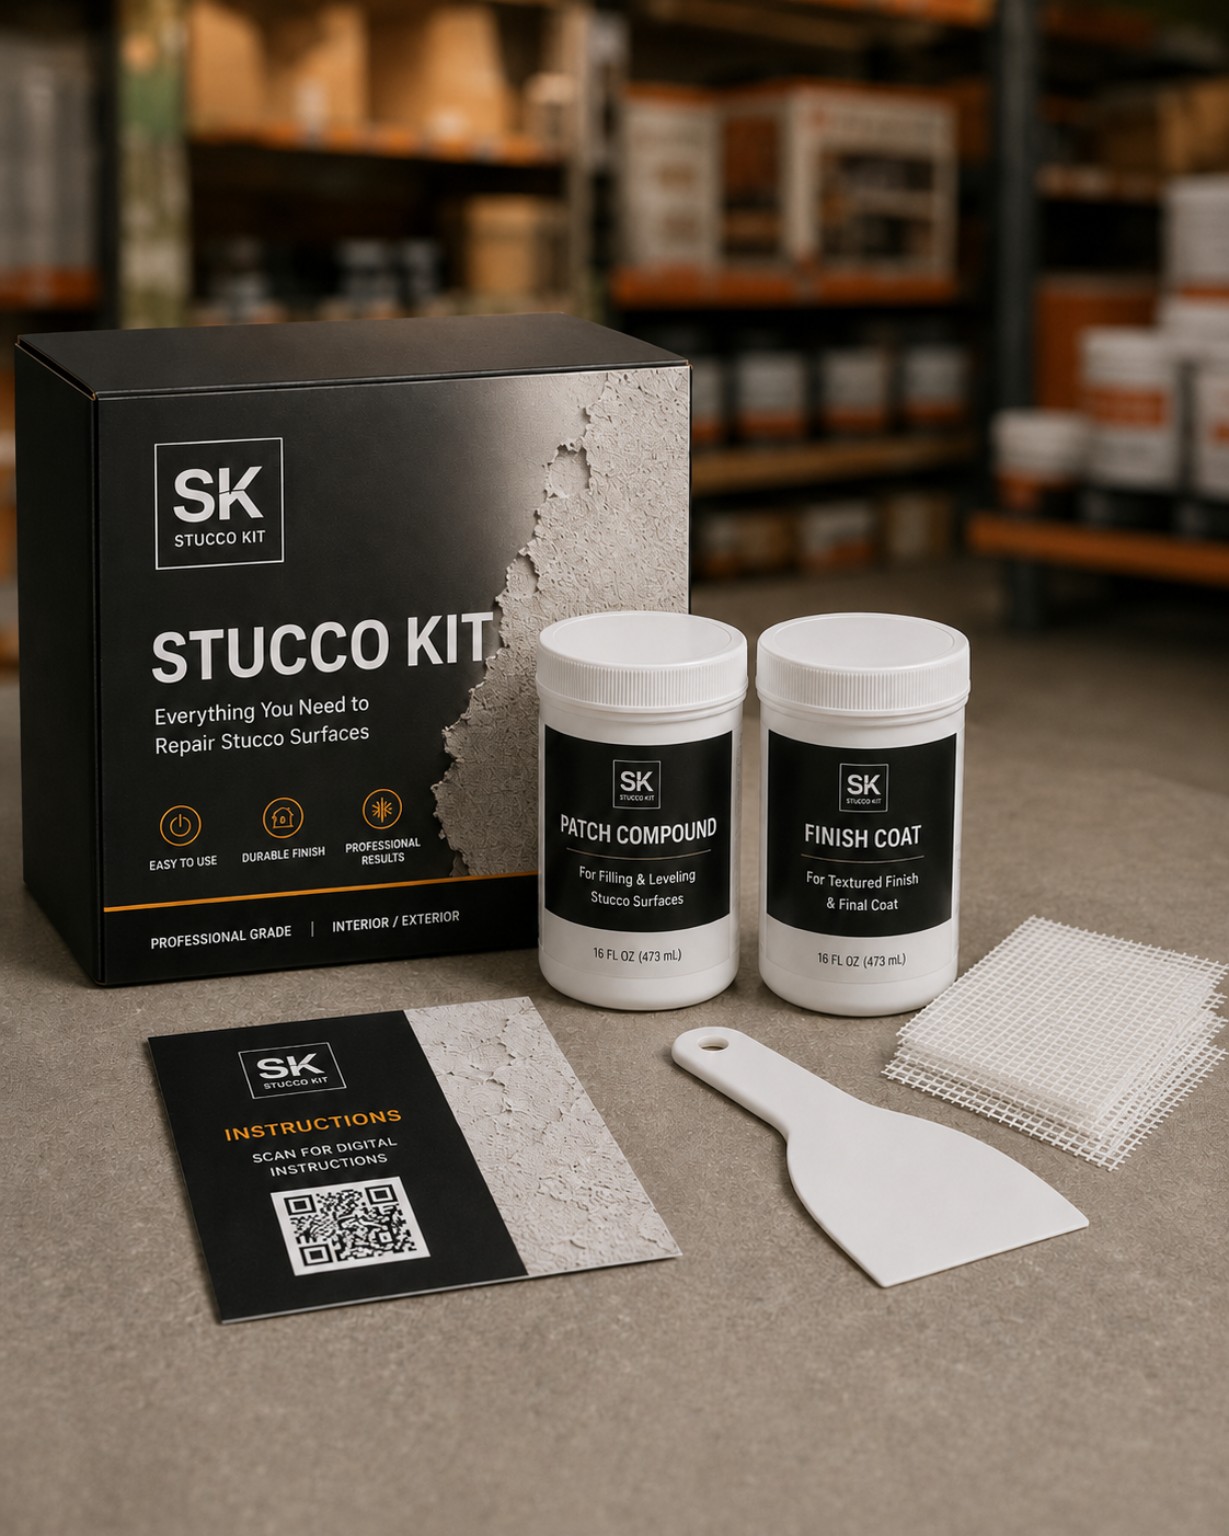
StuccoKit box with patch compound, finish coat, three pre-cut mesh squares, one putty knife, and QR instruction card
Your compact touch-up kitTwo materials · three mesh squares · one tool · guided application
For small cosmetic surface touch-ups only. Active leaks, soft substrate, structural movement, widespread cracking, or bulging require professional assessment.
Before you begin

Confirm the repair is suitable.

Suitable

Small cosmetic damage

  • Small chips and shallow surface loss
  • Fastener holes and localized cosmetic defects
  • Firm, dry surrounding material
  • A repair size approved during your assessment
Stop and ask

Damage that may need a contractor

  • Active water intrusion or damp substrate
  • Loose, hollow, soft, bulging, or delaminated areas
  • Cracks that continue moving or return quickly
  • Damage larger or deeper than the approved touch-up
Step-by-step

Take the repair one stage at a time.

Do not rush from patching into finishing. The material label supplied with your kit controls mixing, working time, temperature, thickness, drying, curing, cleanup, and storage.

01
Inspect the kit

Check every item before opening it.

  1. Confirm the order reference, colour path, texture, and quantity match your approved order.
  2. Check both jars for leakage, broken seals, freezing, swelling, unusual separation, or transit damage.
  3. Read the product labels and any kit-specific insert completely.
  4. Photograph the untouched repair area in natural light for comparison.
Do not proceedContact support when the contents do not match the order or when any container arrived damaged.
Current StuccoKit contents arranged beside the box
02
Prepare the surface

Clean, firm edges make a better repair.

  1. Protect windows, trim, paving, plants, and nearby finished surfaces.
  2. Remove only loose, dusty, chalking, or friable material. Do not enlarge the repair unnecessarily.
  3. Brush away dust and debris with a clean dry brush or another method permitted by the supplied label.
  4. Do not apply over oil, grease, wet material, ice, active contamination, or loose substrate.
  5. Lightly dampen the area only when the product-specific instructions explicitly call for it.

Avoid hard tape lines around the repair unless your kit-specific instructions recommend masking. A sharp edge can make the touch-up more visible.
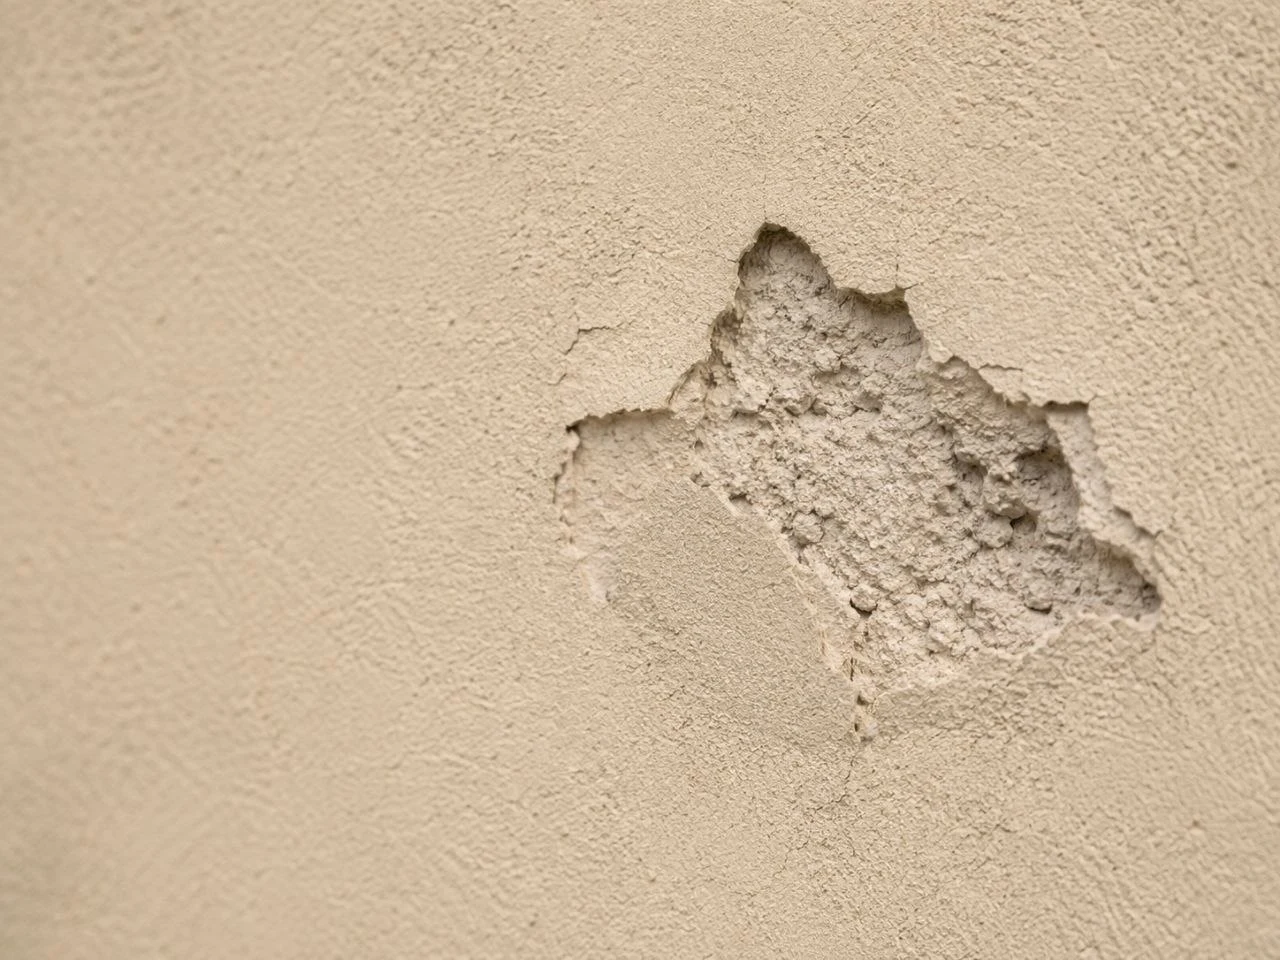
Small chipped stucco area ready for careful surface preparation Remove loose material without damaging sound surrounding finish.
03
Apply patch compound

Fill the defect in controlled layers.

  1. Open and mix the patch compound only as directed on its label.
  2. Use the supplied white putty knife to press a thin first layer firmly into the prepared defect.
  3. Fill voids without trapping air and keep the repair within the stated maximum thickness.
  4. Work only within the product’s stated working time.
  5. Do not add water, cement, paint, pigment, solvent, or another product unless the label specifically allows it.
Work smallUse only enough material to fill the defect and receive the mesh. Excess material creates a larger, harder-to-blend patch.
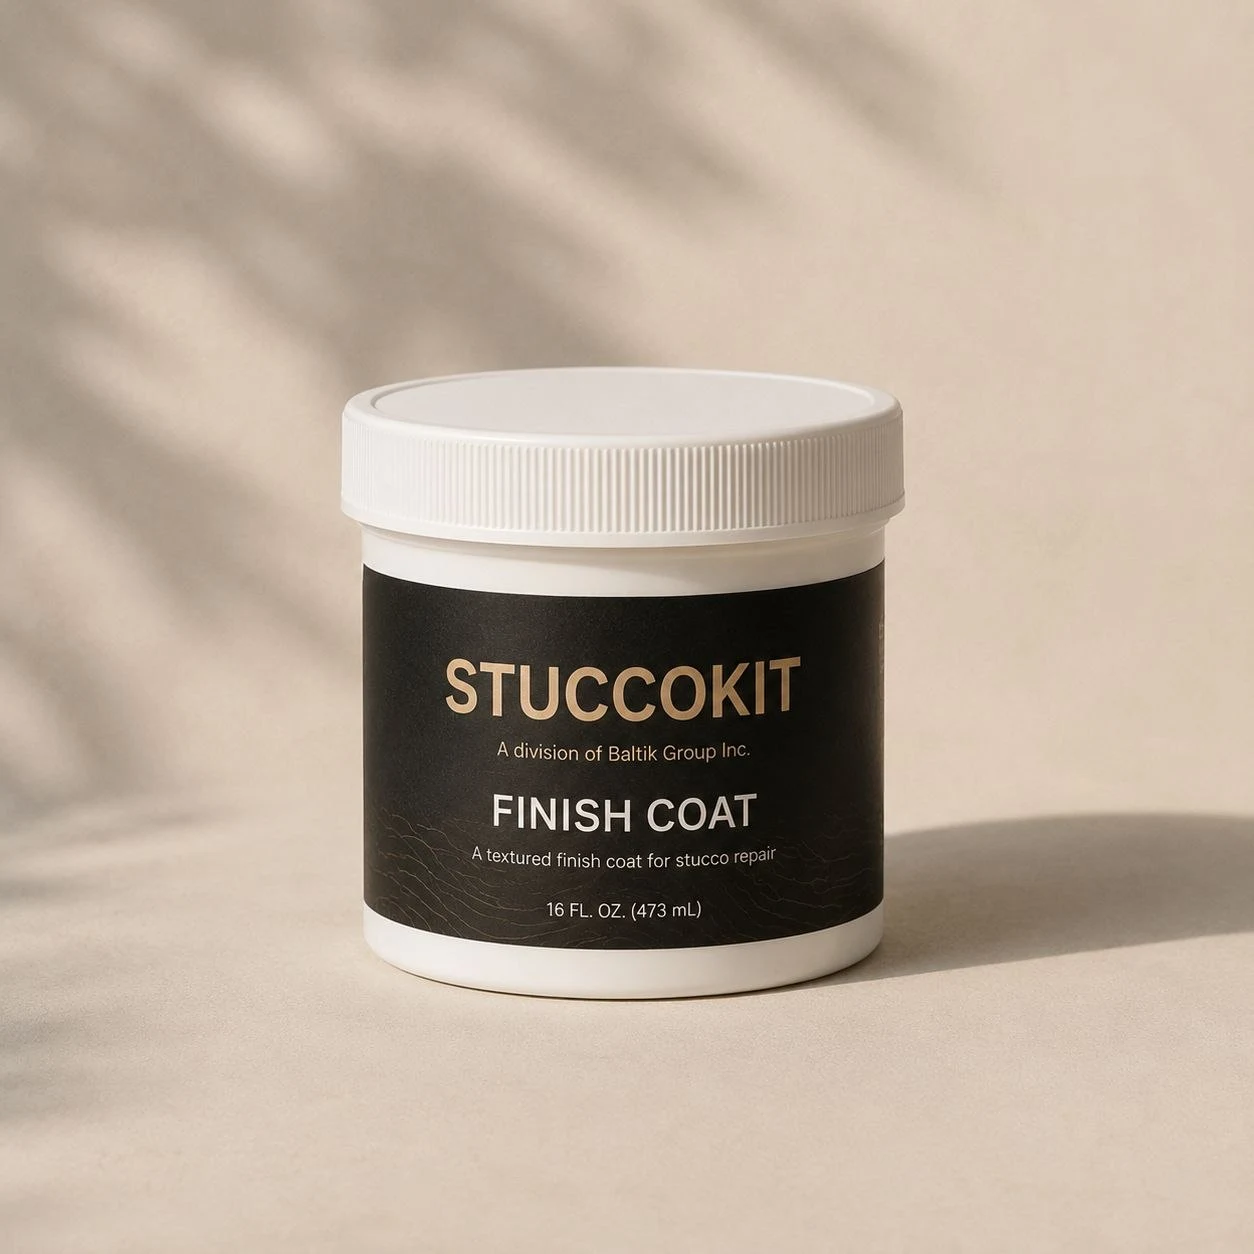
StuccoKit material container and application tool The supplied putty knife is intended for small cosmetic repairs.
04
Embed one mesh square

Reinforce the repair while the patch is workable.

  1. Select one of the three supplied 6 × 6-inch pre-cut mesh squares.
  2. Trim it only when needed so it extends beyond the defect while remaining inside the prepared repair area.
  3. Place the mesh into the wet patch layer and press it flat with the clean putty knife.
  4. Cover the mesh with additional patch compound as permitted by the product label.
  5. Feather the edges gradually. Do not leave exposed mesh, wrinkles, raised edges, or trapped air.

The three mesh pieces are supplied as flat 6 × 6-inch cut squares—not as a roll. Usually only one piece is used per approved touch-up.
05
Apply the finish coat

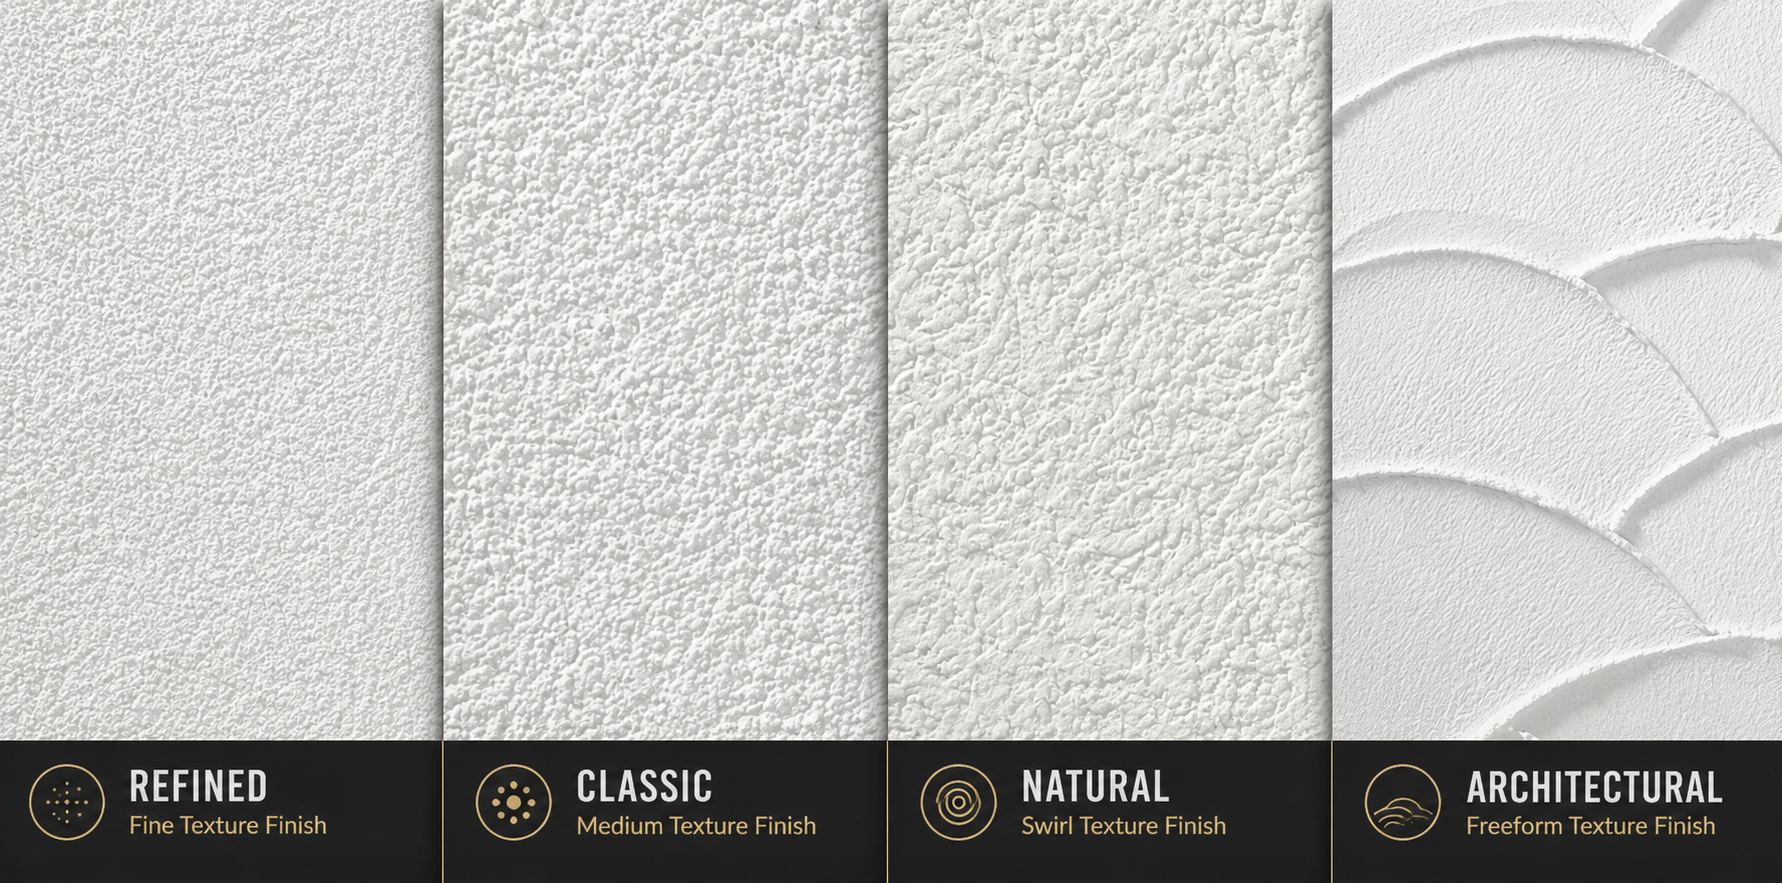
Match the surrounding texture—not just the colour.

  1. Wait until the patch layer reaches the condition stated in the supplied instructions.
  2. Mix the finish coat only as directed.
  3. Apply a small test in an inconspicuous part of the intended area when practical.
  4. Use light, controlled passes and recreate the surrounding direction, scale, pressure, and randomness.
  5. Stop before overworking the material or flattening its aggregate.
  6. Judge the final colour only after the material has cured for the stated evaluation period.
Texture mattersA close colour with the wrong texture can remain visible. Compare the surrounding wall from several angles before the finish begins to set.
Stucco texture finish comparison guide
Use the texture selected during your assessment as the starting reference.
06
Protect and cure

Let the materials finish doing their work.

  • Protect the repair from rain, freezing, washing, impact, dirt, and accidental contact for the full stated cure period.
  • Maintain the application and curing temperatures shown on the supplied labels.
  • Do not judge colour while the material is wet.
  • Do not paint, wash, or coat the area before the stated cure time.
  • Keep the labelled containers and order reference until the result has been evaluated.

Drying and curing depend on the actual material, layer thickness, temperature, humidity, substrate, and exposure. The website intentionally does not replace the product-specific times printed with your kit.

Final check

Photograph the result after curing.

Use similar lighting and camera distance to the original assessment photos. Contact support before adding more material when the result is inconsistent with the confirmed order.

What is in the box

The compact essentials for your approved touch-up.

The current kit format shown here contains the items below. Your order label and packing slip remain the final authority.

  • 01
    Patch compoundOne labelled jar for filling and levelling the approved repair.
  • 02
    Finish coatOne labelled jar prepared for the selected colour path and texture.
  • 03
    Three mesh squaresThree thin, pre-cut 6 × 6-inch reinforcing pieces.
  • 04
    One putty knifeOne white two-inch plastic application tool.
  • 05
    QR instruction cardScan the card to return directly to this mobile guide.
StuccoKit box and complete current kit contents
Troubleshooting

Pause before making a small issue larger.

When the repair is not behaving as expected, stop and confirm the material label, temperature, surface condition, and working time before adding more product.

Contact support
The patch compound will not bond.+

Stop application. Check for dust, chalking, moisture, contamination, loose substrate, temperature problems, or a surface outside the approved repair scope. Do not attempt to solve adhesion by adding unapproved ingredients.

The mesh remains visible.+

Do not proceed to the finish coat while mesh is exposed. Follow the patch-compound label for permitted layer thickness and recoat timing. Avoid burying the mesh under one excessively thick layer.

The texture looks different.+

Compare tool angle, pressure, material amount, timing, direction, and aggregate movement. Practice on a disposable sample surface when possible before changing the wall repair.

The wet colour looks wrong.+

Wet material can differ substantially from cured material. Wait for the evaluation period stated with your kit unless another problem—such as the wrong label or product—requires you to stop immediately.

The damage is larger than expected.+

Stop and photograph the area. Do not stretch the supplied material across damage that exceeds the approved assessment. Contact support or a qualified stucco contractor for a revised repair plan.

Safety and documents

Keep the product information with the kit.

The final commercial kit should include or link to the applicable product label, technical data sheet, safety data sheet when required, storage limits, coverage, working time, cure time, cleanup, and disposal information.

Ready for another touch-up?

Show us the surface. We’ll help configure the kit.

Choose the closest texture and provide your known colour, scanner readings, or a representative physical sample.

Start My Touch-Up Kit
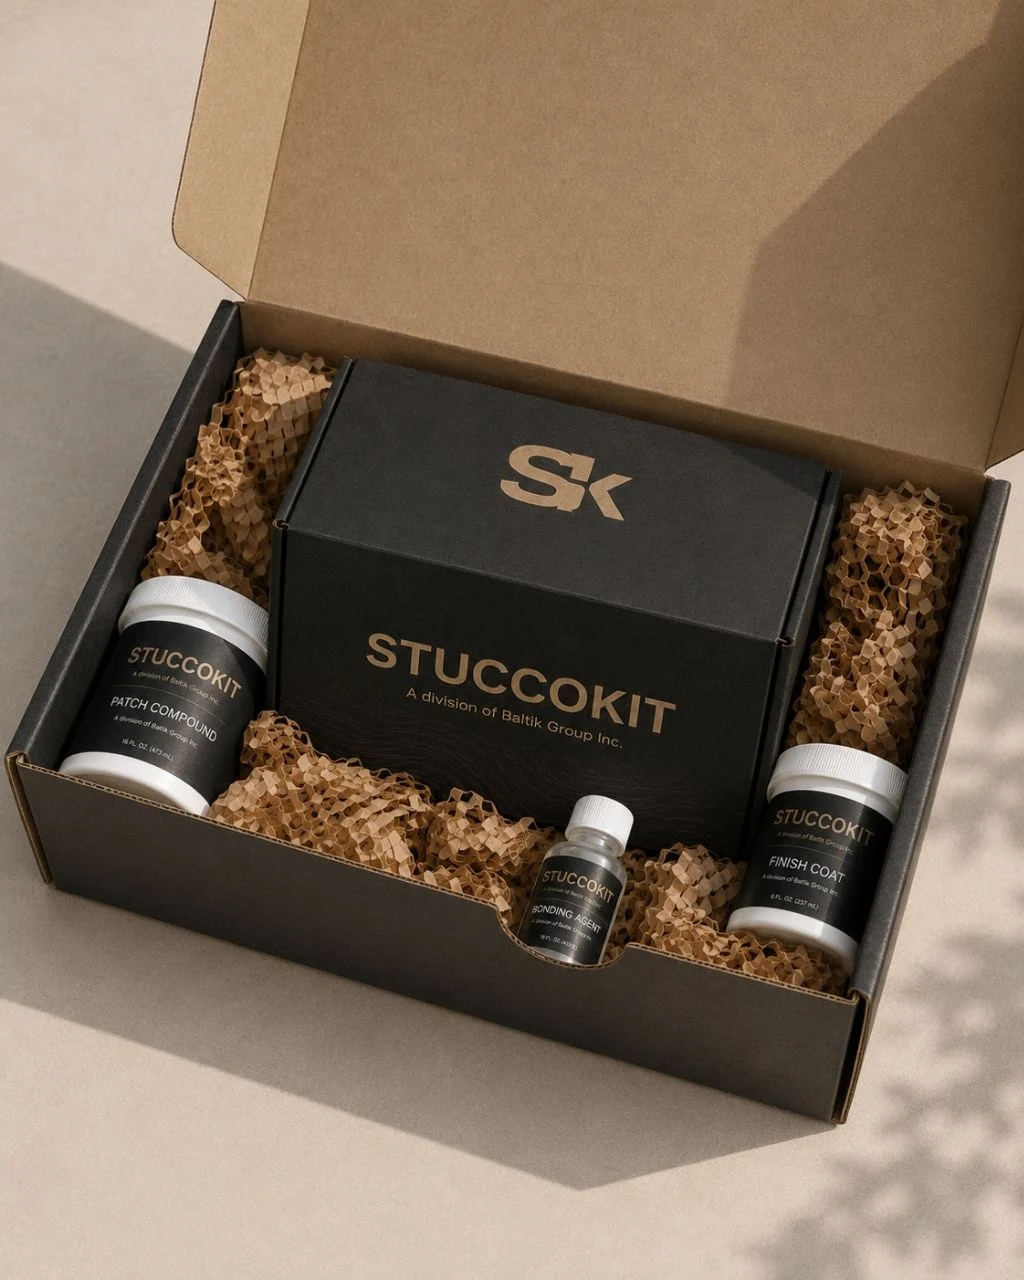
StuccoKit package prepared for a cosmetic touch-up