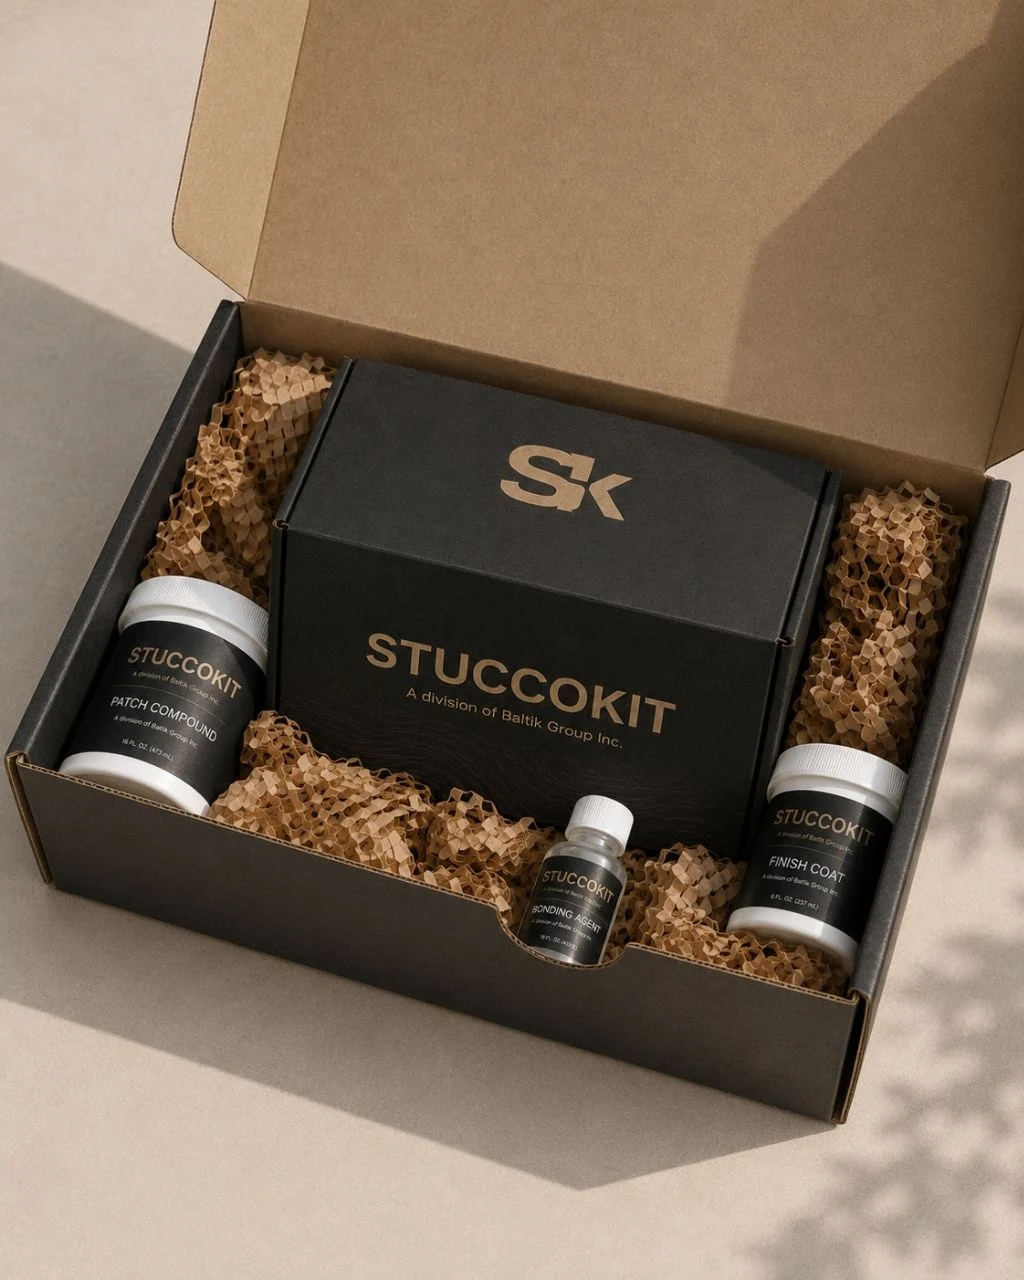
Small cosmetic damage
- Small chips and shallow surface loss
- Fastener holes and localized cosmetic defects
- Firm, dry surrounding material
- A repair size approved during your assessment
Use this page as the general repair sequence for your StuccoKit. Before opening either jar, compare the order reference, colour, texture, and contents with the labels supplied in your box.
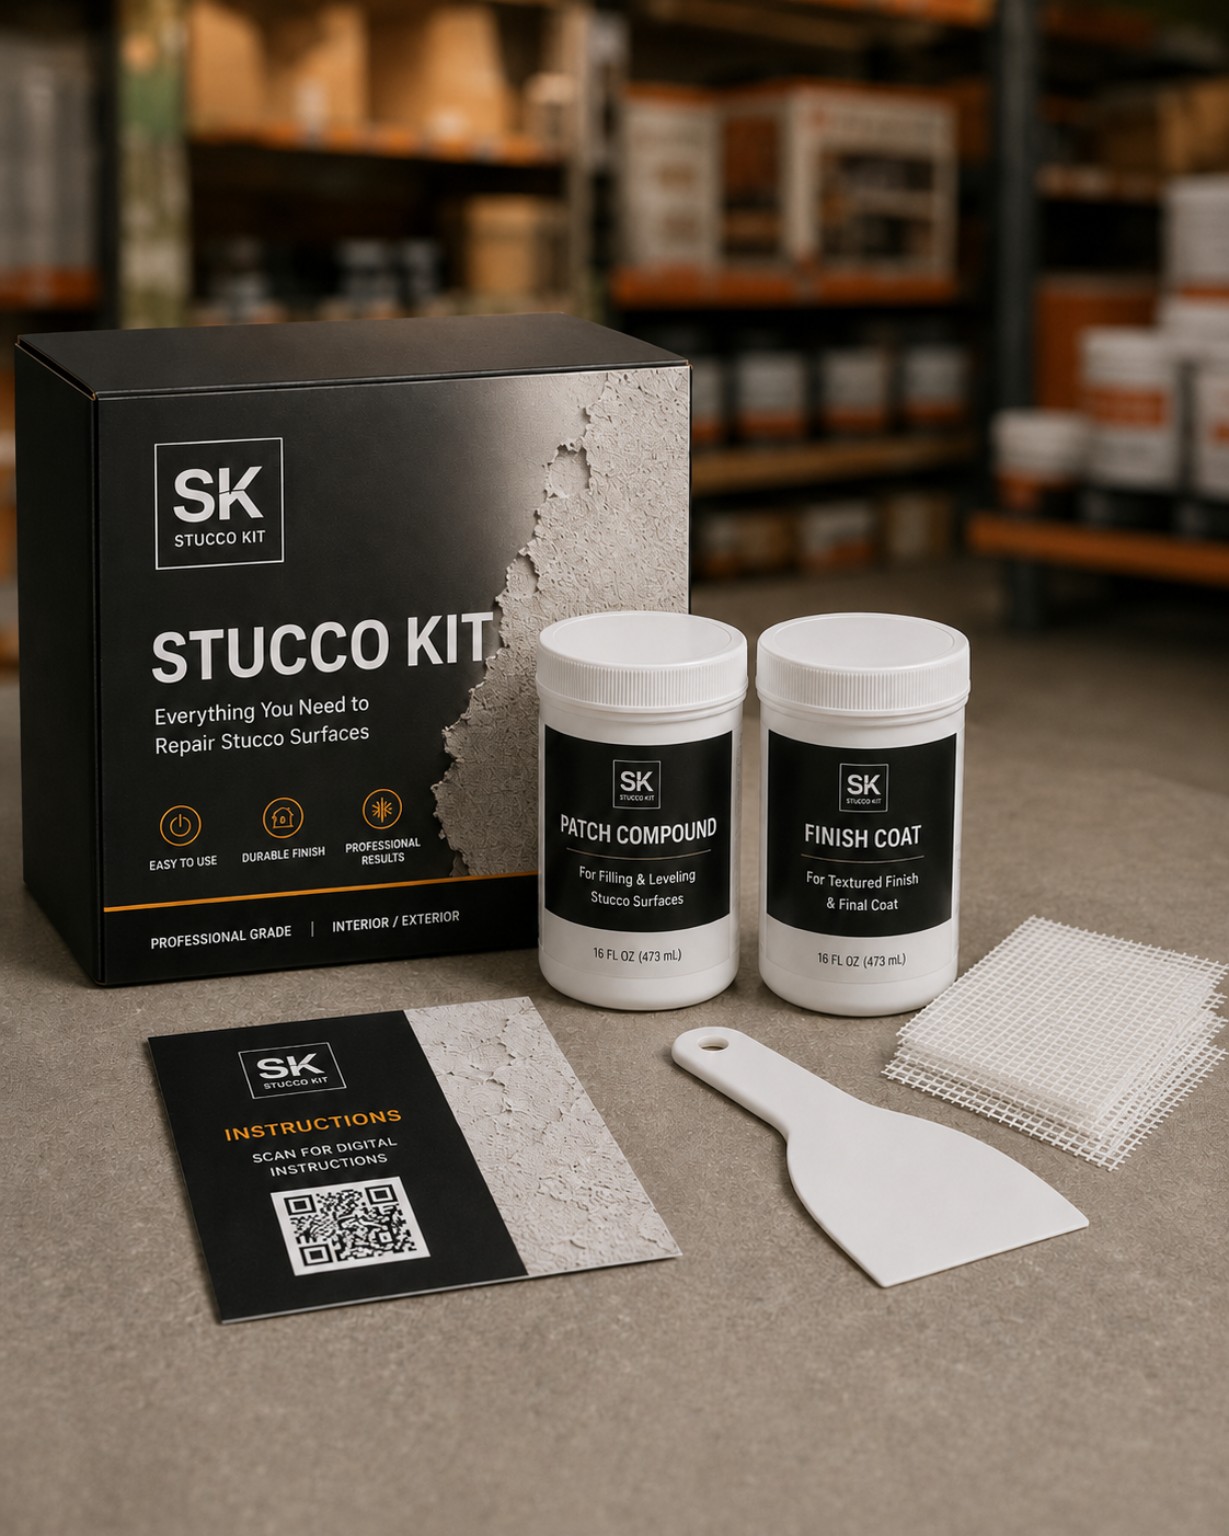
Do not rush from patching into finishing. The material label supplied with your kit controls mixing, working time, temperature, thickness, drying, curing, cleanup, and storage.
Avoid hard tape lines around the repair unless your kit-specific instructions recommend masking. A sharp edge can make the touch-up more visible.
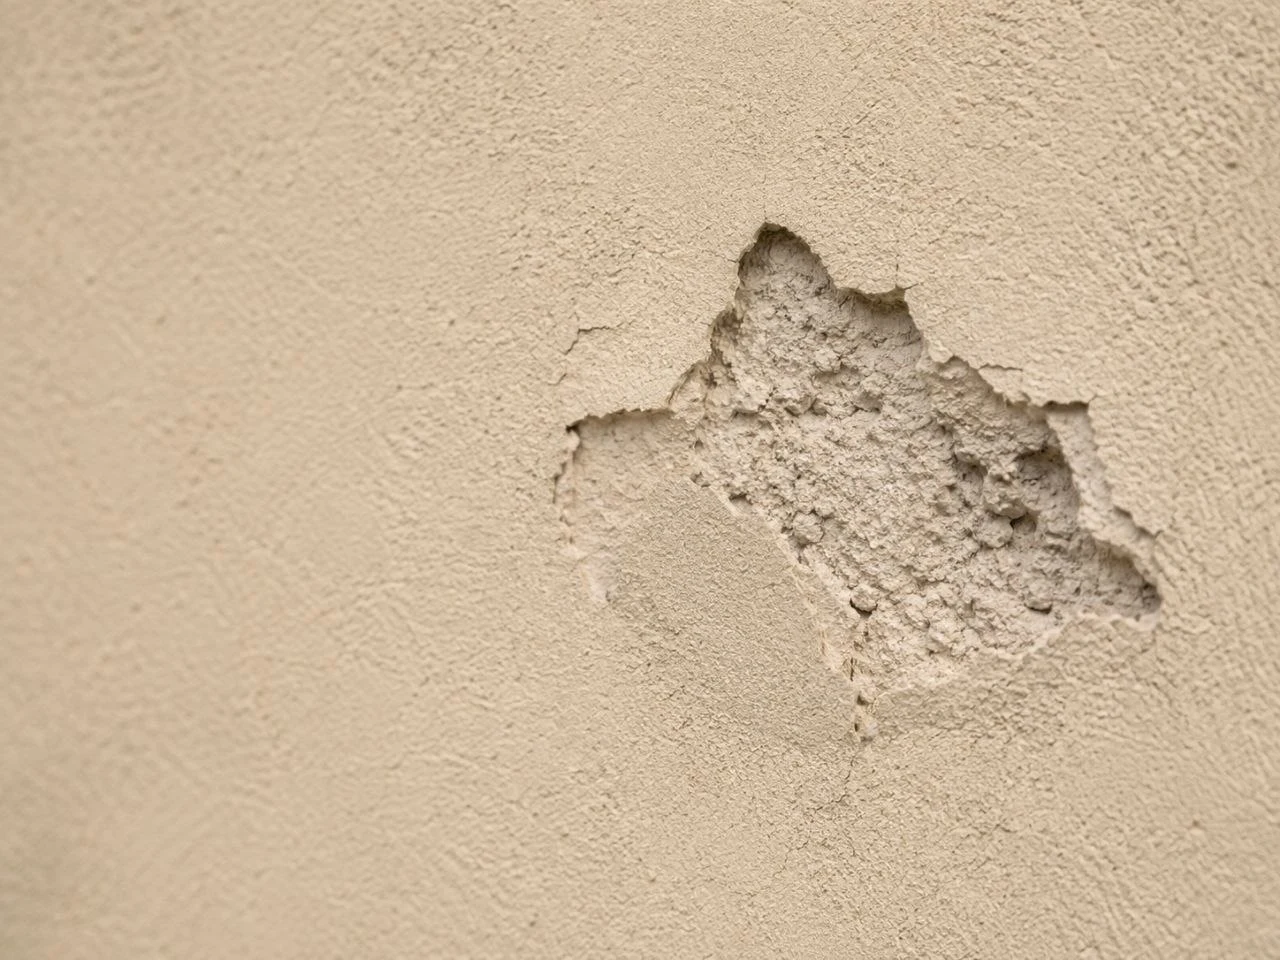 Remove loose material without damaging sound surrounding finish.
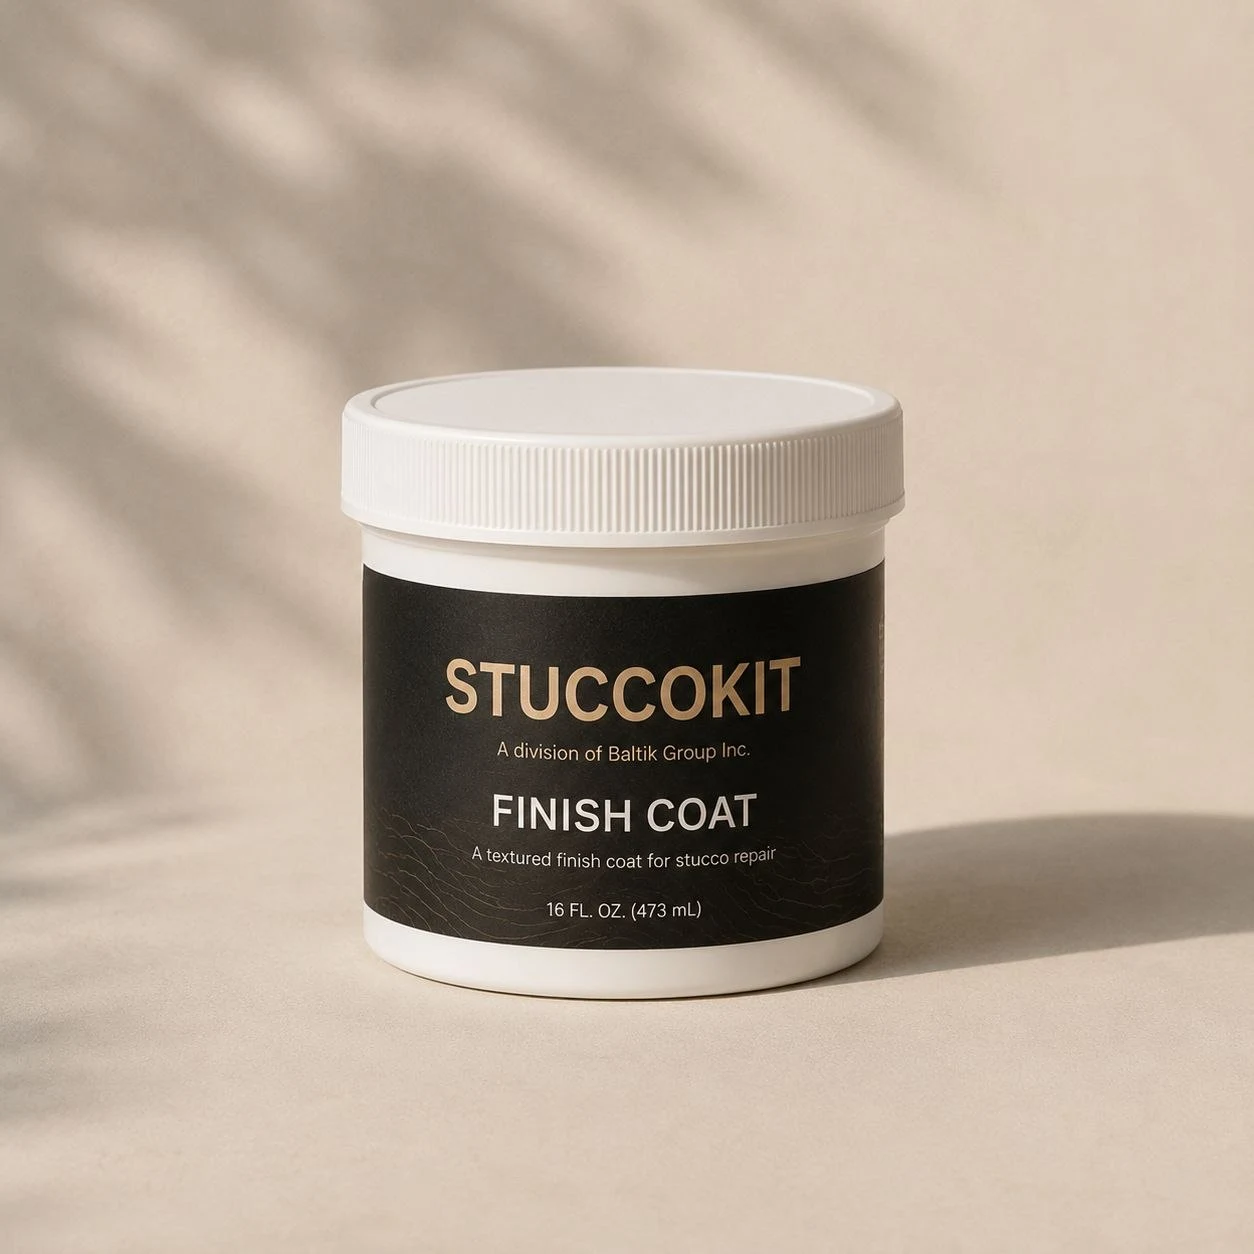 The supplied putty knife is intended for small cosmetic repairs.
The three mesh pieces are supplied as flat 6 × 6-inch cut squares—not as a roll. Usually only one piece is used per approved touch-up.
Drying and curing depend on the actual material, layer thickness, temperature, humidity, substrate, and exposure. The website intentionally does not replace the product-specific times printed with your kit.
Use similar lighting and camera distance to the original assessment photos. Contact support before adding more material when the result is inconsistent with the confirmed order.
The current kit format shown here contains the items below. Your order label and packing slip remain the final authority.
When the repair is not behaving as expected, stop and confirm the material label, temperature, surface condition, and working time before adding more product.
Contact supportStop application. Check for dust, chalking, moisture, contamination, loose substrate, temperature problems, or a surface outside the approved repair scope. Do not attempt to solve adhesion by adding unapproved ingredients.
Do not proceed to the finish coat while mesh is exposed. Follow the patch-compound label for permitted layer thickness and recoat timing. Avoid burying the mesh under one excessively thick layer.
Compare tool angle, pressure, material amount, timing, direction, and aggregate movement. Practice on a disposable sample surface when possible before changing the wall repair.
Wet material can differ substantially from cured material. Wait for the evaluation period stated with your kit unless another problem—such as the wrong label or product—requires you to stop immediately.
Stop and photograph the area. Do not stretch the supplied material across damage that exceeds the approved assessment. Contact support or a qualified stucco contractor for a revised repair plan.
The final commercial kit should include or link to the applicable product label, technical data sheet, safety data sheet when required, storage limits, coverage, working time, cure time, cleanup, and disposal information.
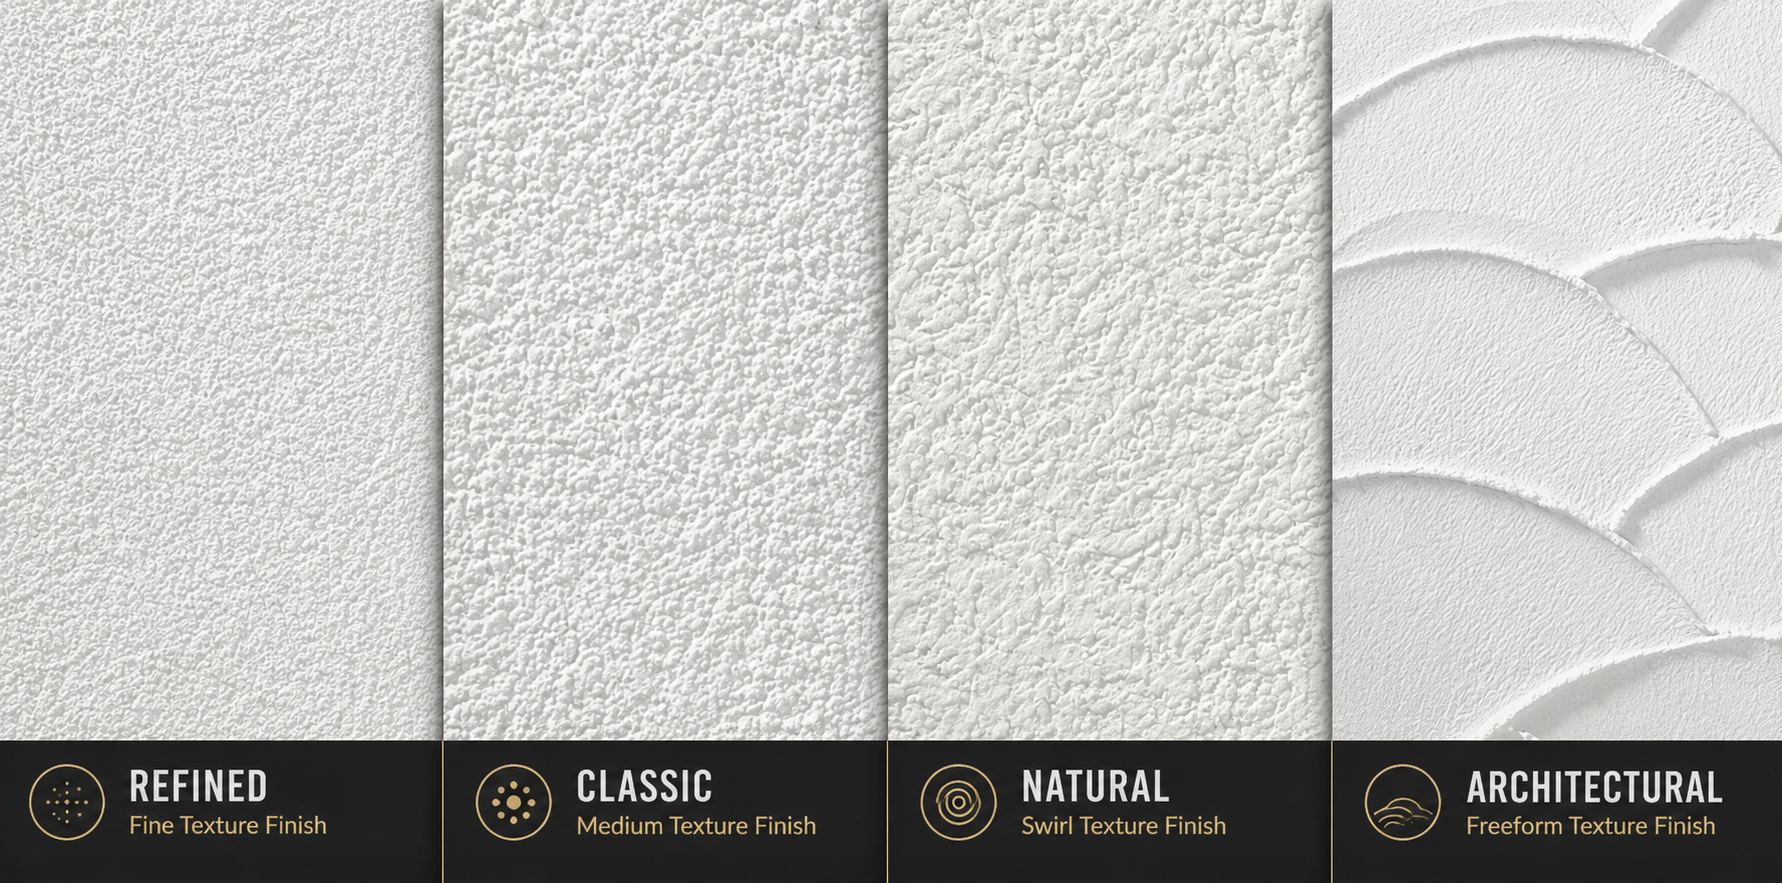
Choose the closest texture and provide your known colour, scanner readings, or a representative physical sample.
Start My Touch-Up Kit →